
Hello, It's me again ^-^
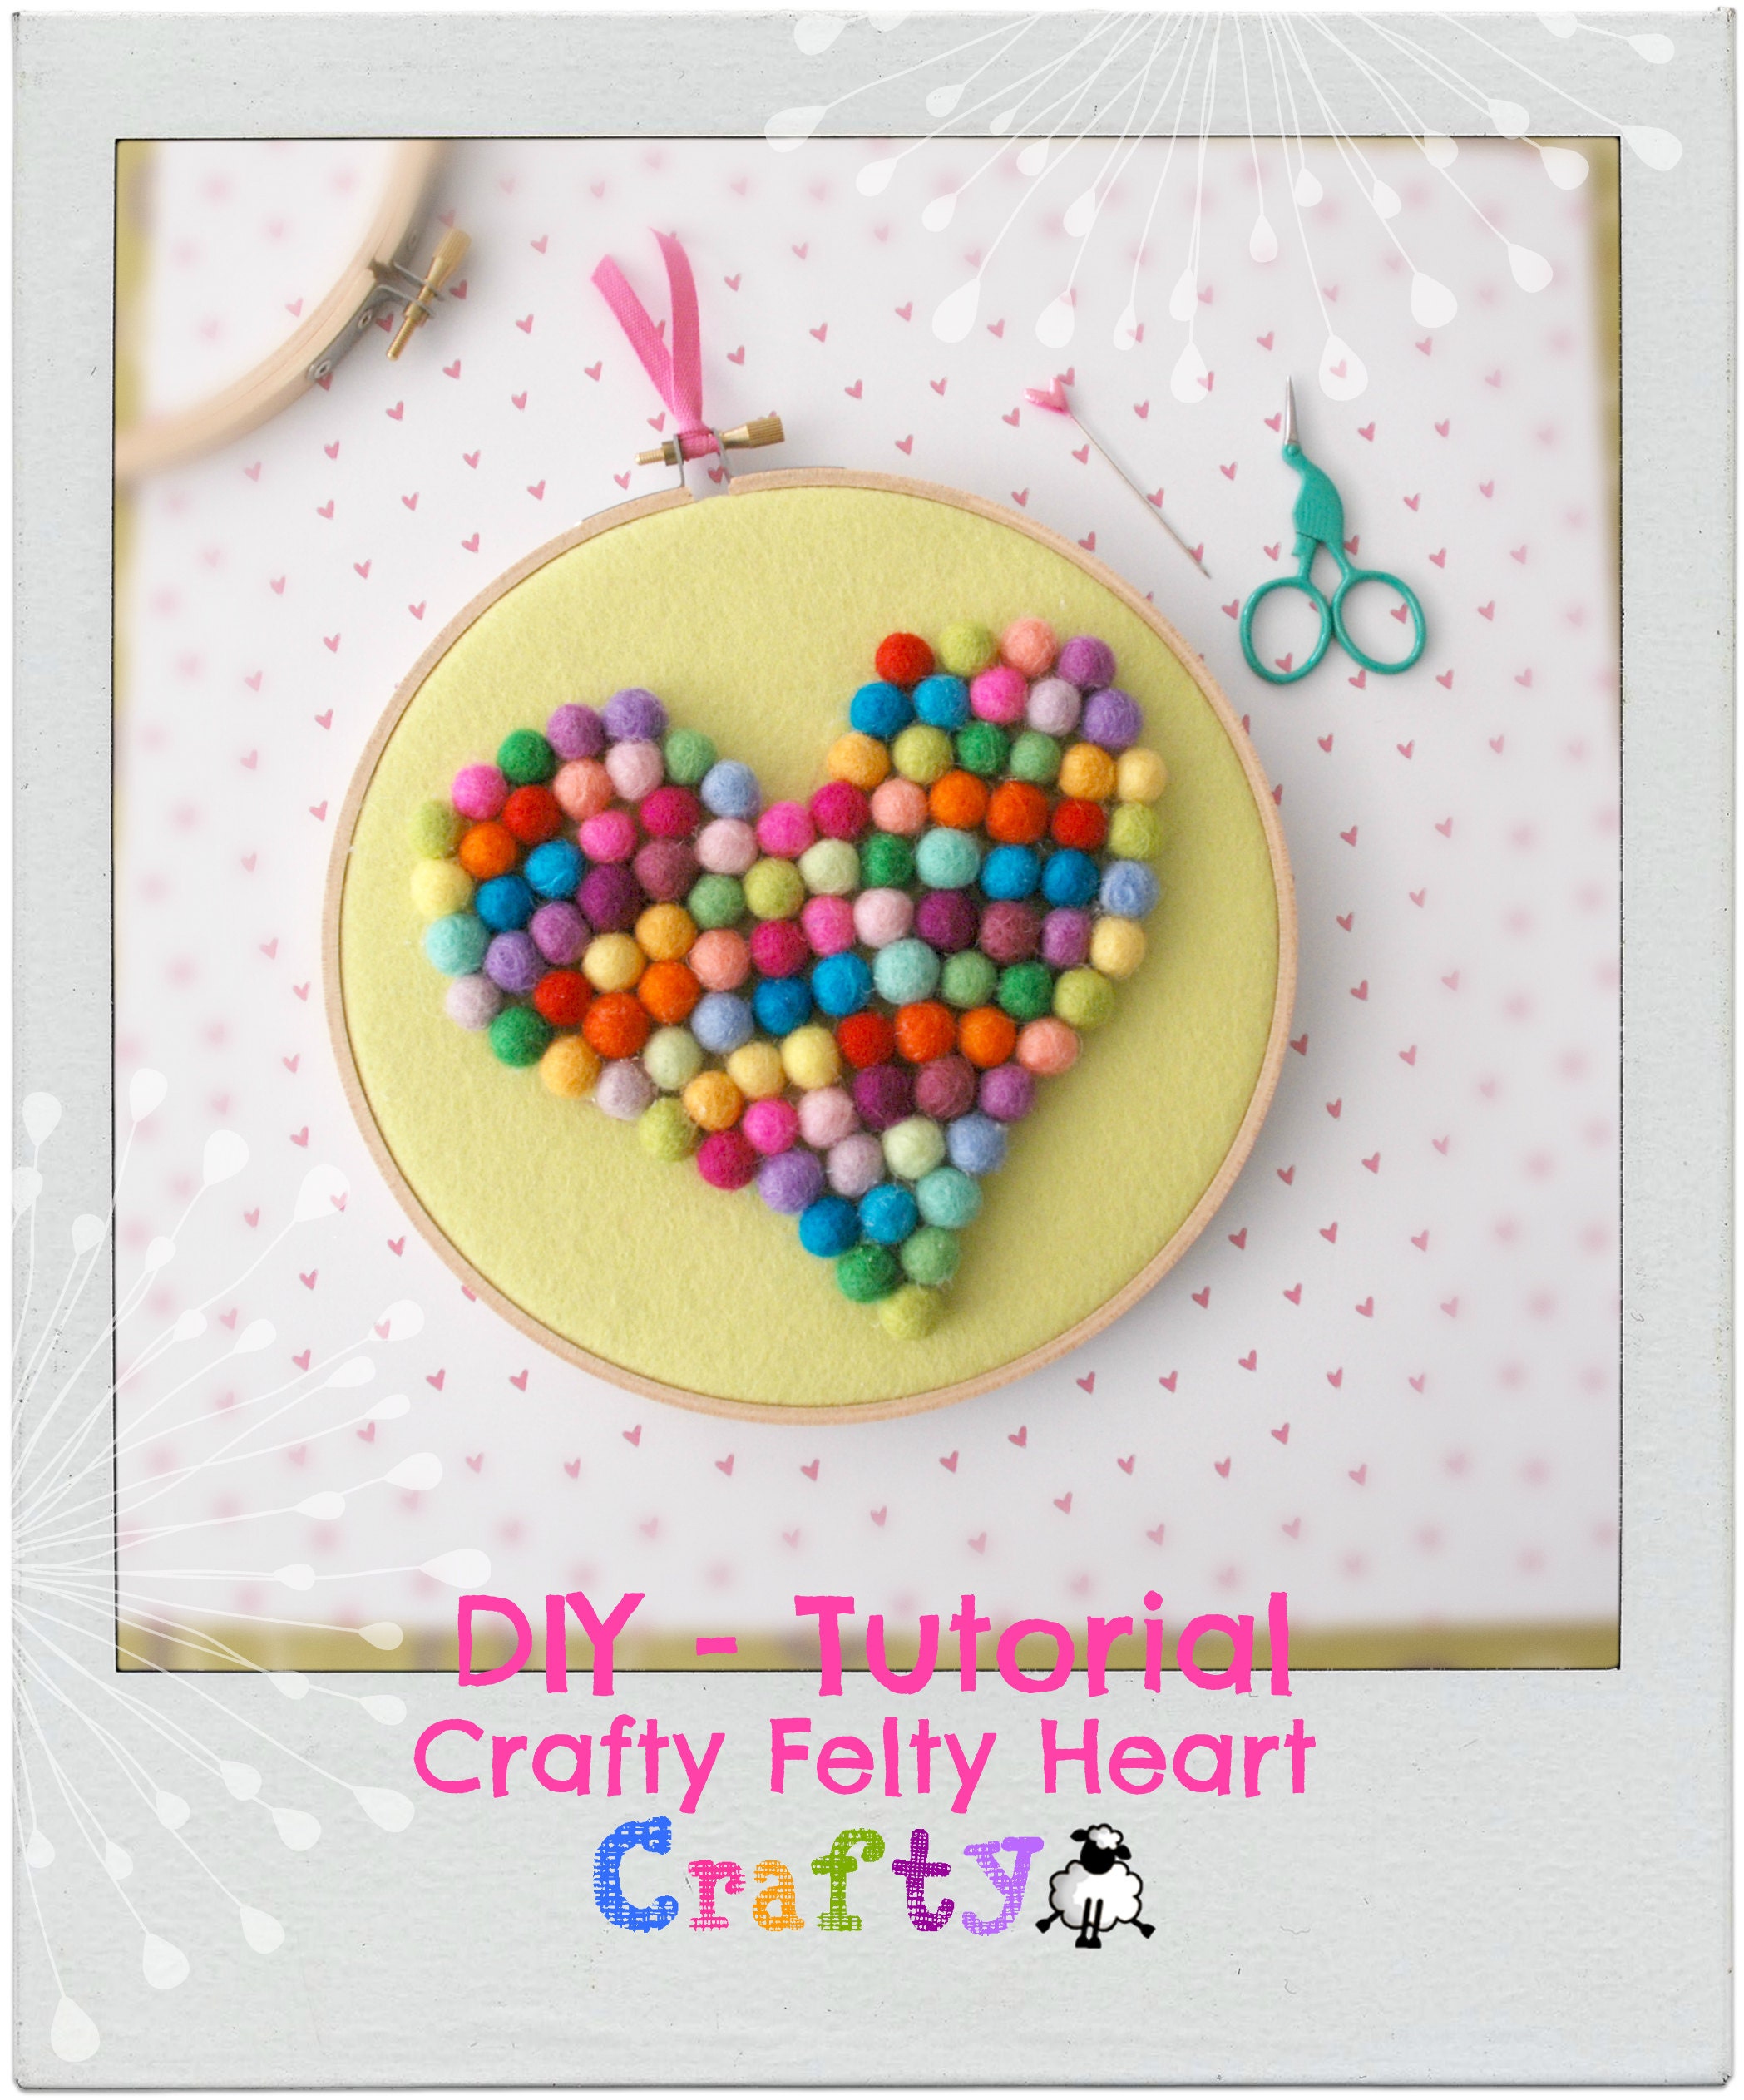
This month I would like to share with you this colorful and easy felt balls heart hoop art! It's super cute to decorate your kid's or your craft room ♥
Ok so, let's get crafty ....
"Felty Balls Heart Hoop Art" Kits available here: https://craftywoolfelt.com/listing/475092183/diy-felt-balls-heart-kit-hoop-art-kit
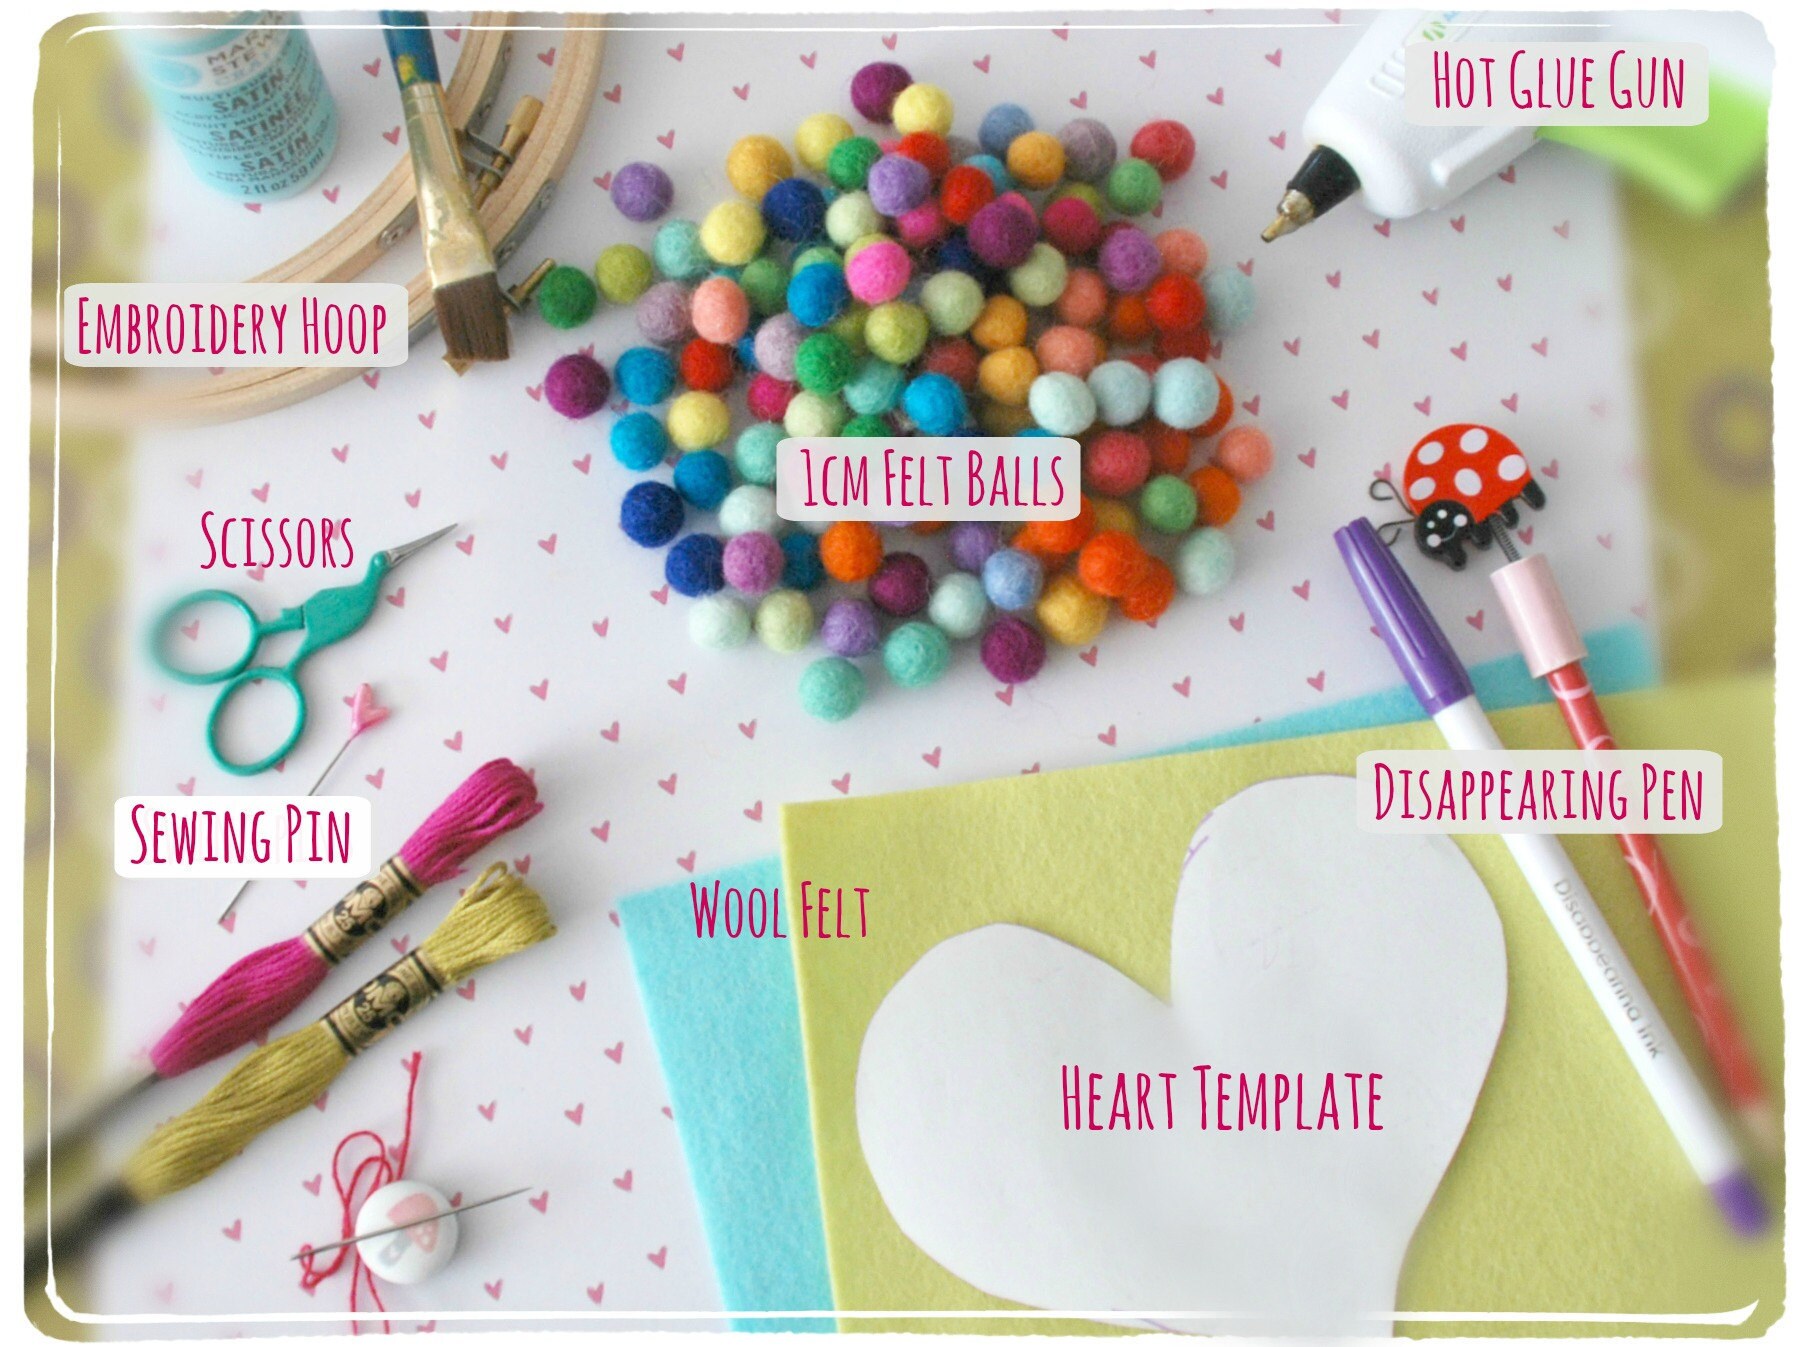
Your kit will include the following: Felt balls, Wool Felt, Embroidery Hoop, Heart Template & Cotton Ribbon. In addition to this you will need a Disappearing Pen, Sewing Pin, Scissors & a Hot Glue Gun. (I will suggest you to read the entire blog before starting your hoop art).
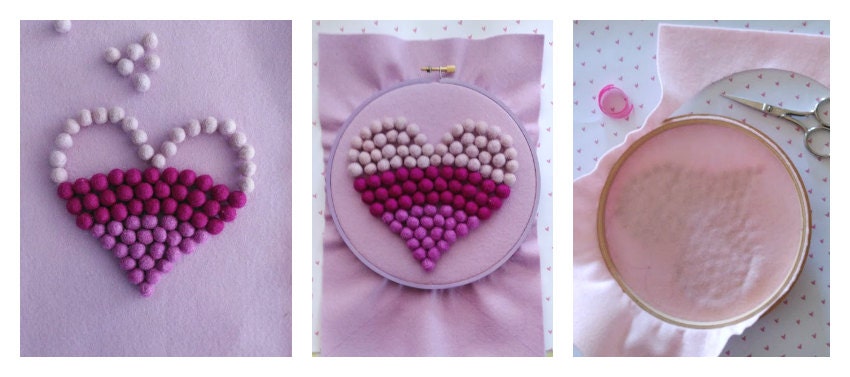
Cut your heart template and trace it onto your wool felt sheet using a disappearing pen. (The purple line will last 24 hours). If you do not have a disappearing pen, you can use a regular pencil or marker, just make sure the felt balls cover the line when you are gluing them.
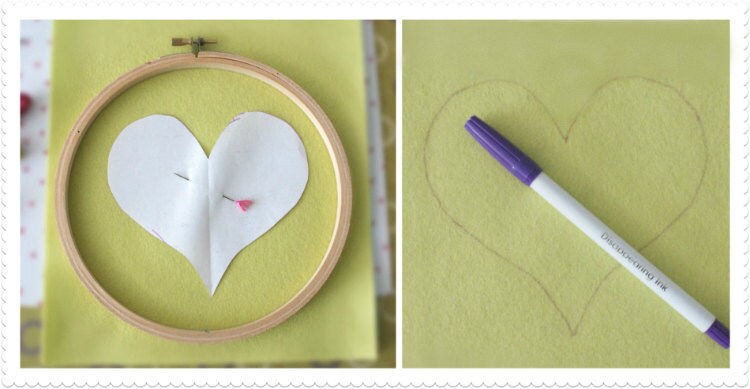
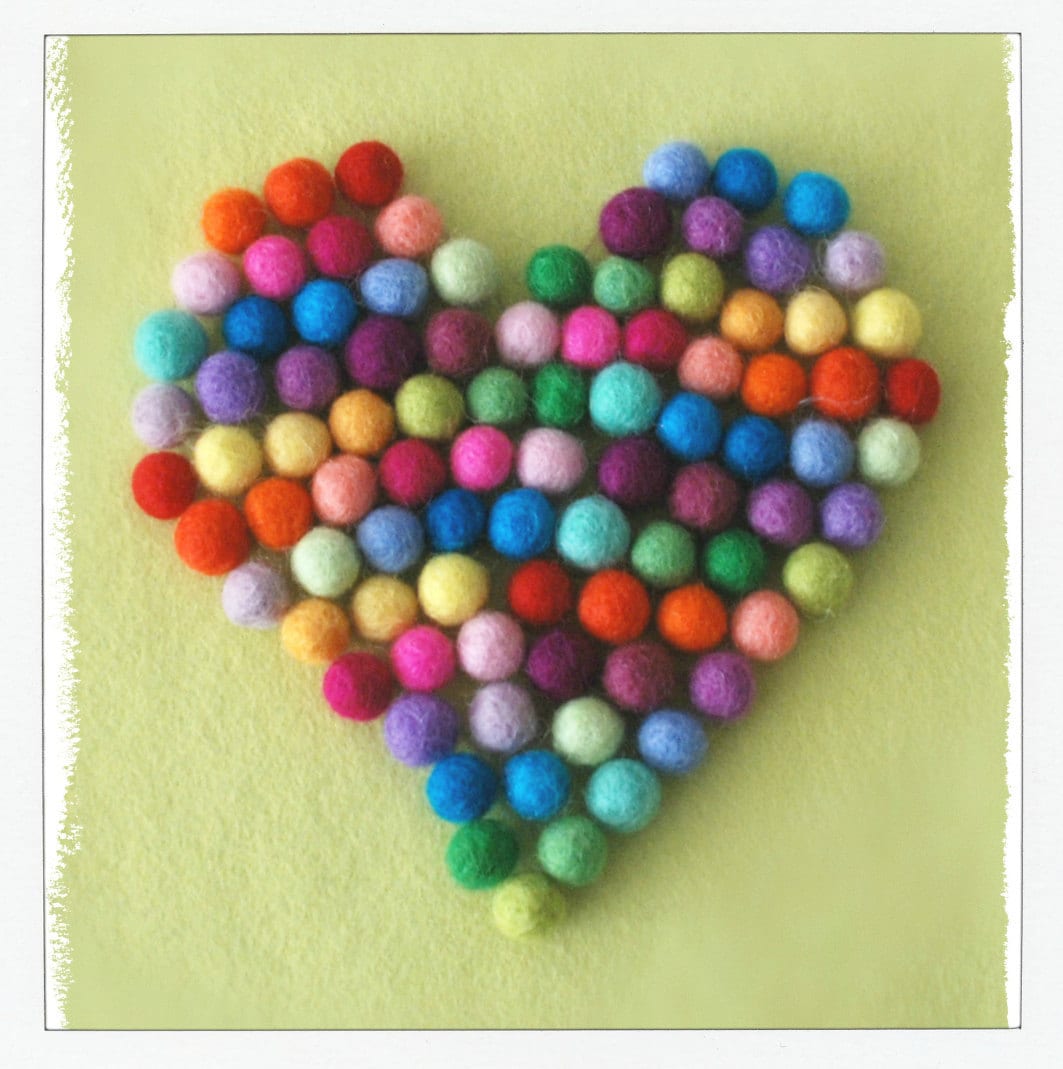
Once you have your heart shape trace onto the wool felt, arrange all the wool felt balls on it before you start gluing. This will help you to do any adjustments to the felt balls, like re-arranging the colors around to make sure it looks just the way you want it (see image below) .
And now... start gluing!! Be careful not to burn yourself!! These are tiny balls and it can be hard to hold them while appling the hot glue on them. (belieeeve me). If you do not have a hot glue gun, you can also stitch them using embroidery floss and a needle.
Start from the bottom upwards and from the edges to the center, gluing line by line as shown in the images below. Make sure to squeeze the balls together while gluing them.

Once you reach the top, you may want to have some extra felt balls arround in case you need to squeese in some extra ones here and there. Remember that these felt balls are handmade and therefore there is a variation in size; also, some colors tend to be slightly larger or smaller than other colors. When you are done gluing, you can place the wool felt onto the embroidery hoop and cut off all the excess felt.
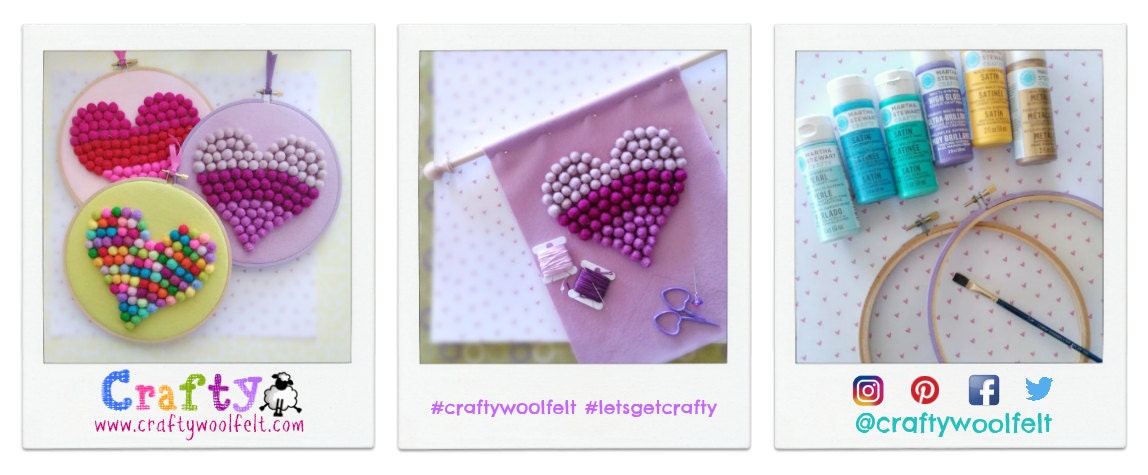
Et Viola, your hoop art is ready to hang! Embellish your hoop any way you want!
Add some paint to the hoop if you do not like the natural wood color, I use Acrylic Paint from Martha Stewart for all my wood items; a 1/4" brush works perfect for this hoops, just remember to paint the hoop before placing the wool felt on it and make sure it's completely dry. You can also add some stitches here and there or why not? Make a banner out of it!
Happy Crafting!
And from them bottom of my Crafty Heart, thank YOU so much for visitng my blog and for shopping Crafty ♥
All ideas and designs in this post are 100% my own
Claudia - ^-^