
Happy 2019!
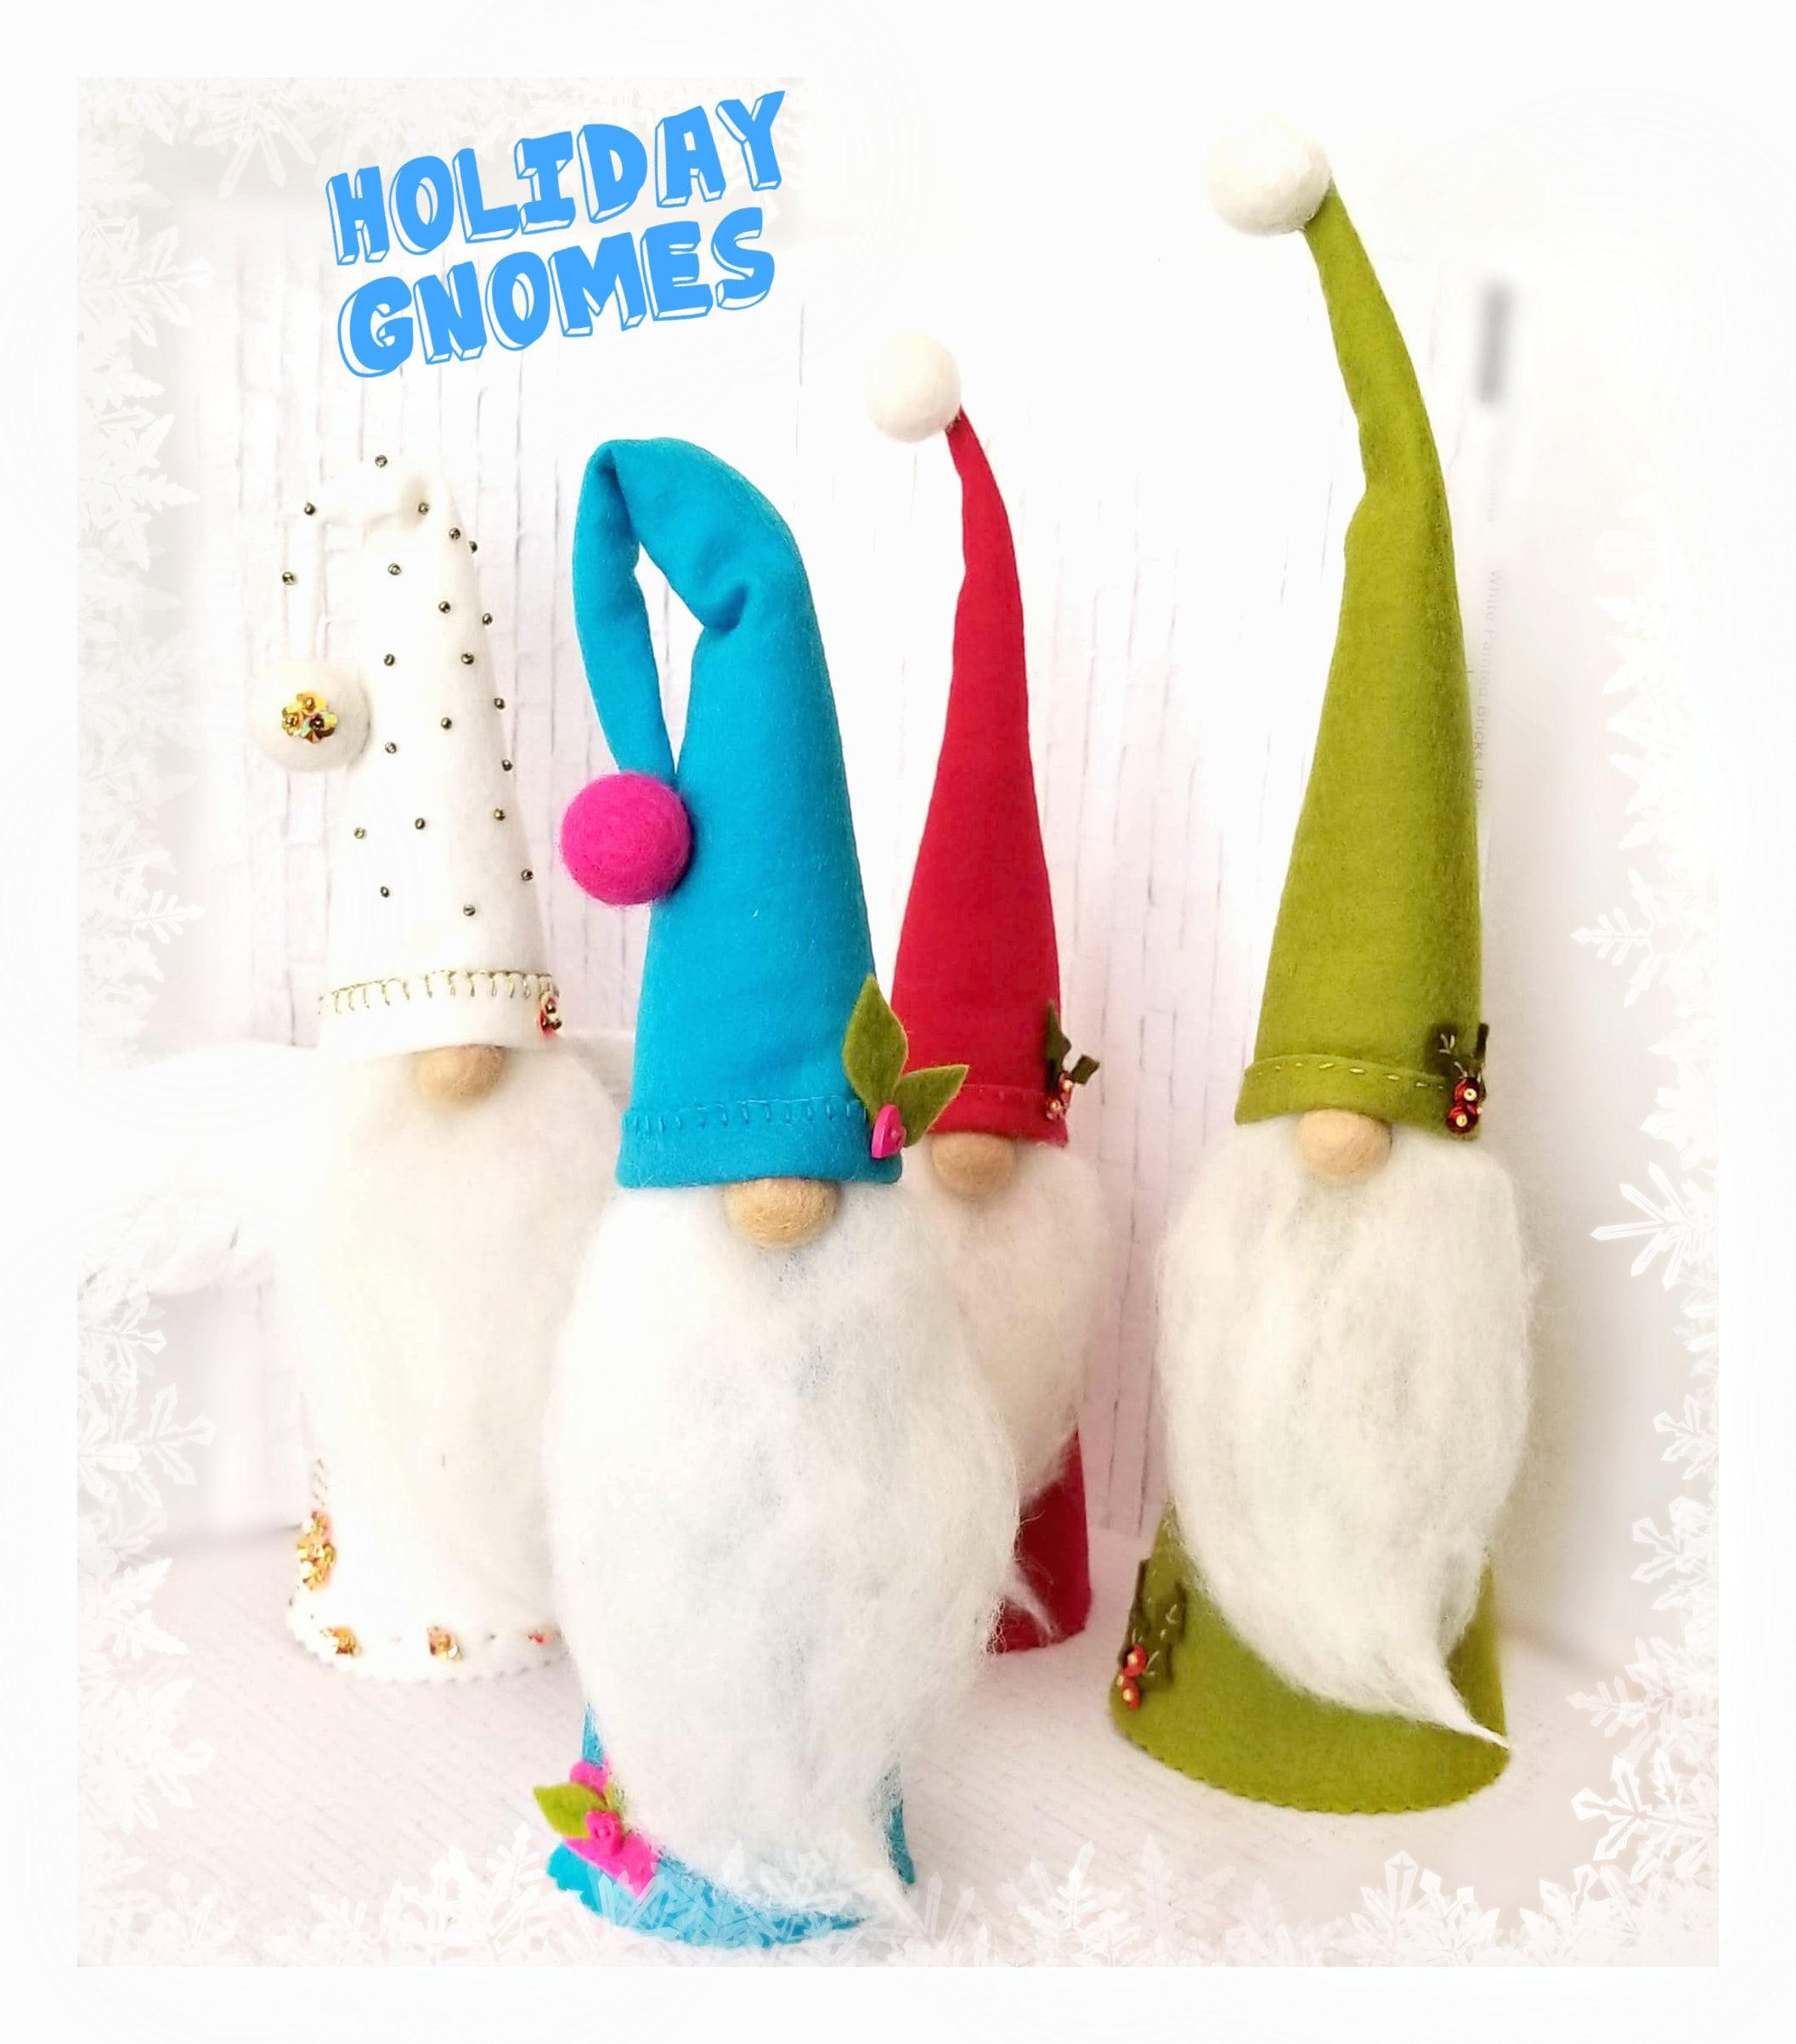
For the longest time, I had been wanting to have a Gnome... I think these are adorable and make a perfect item for house decor or gifts.
Valentine's it is just around the corner and it was the perfect excuse to finally have one of these cuties and since I love crafting, I thought why not?... Let's make one or two ... or three... o four!
Eventhough, this is not a tutorial, I took some picture in the process and thought I shared them with you guys.
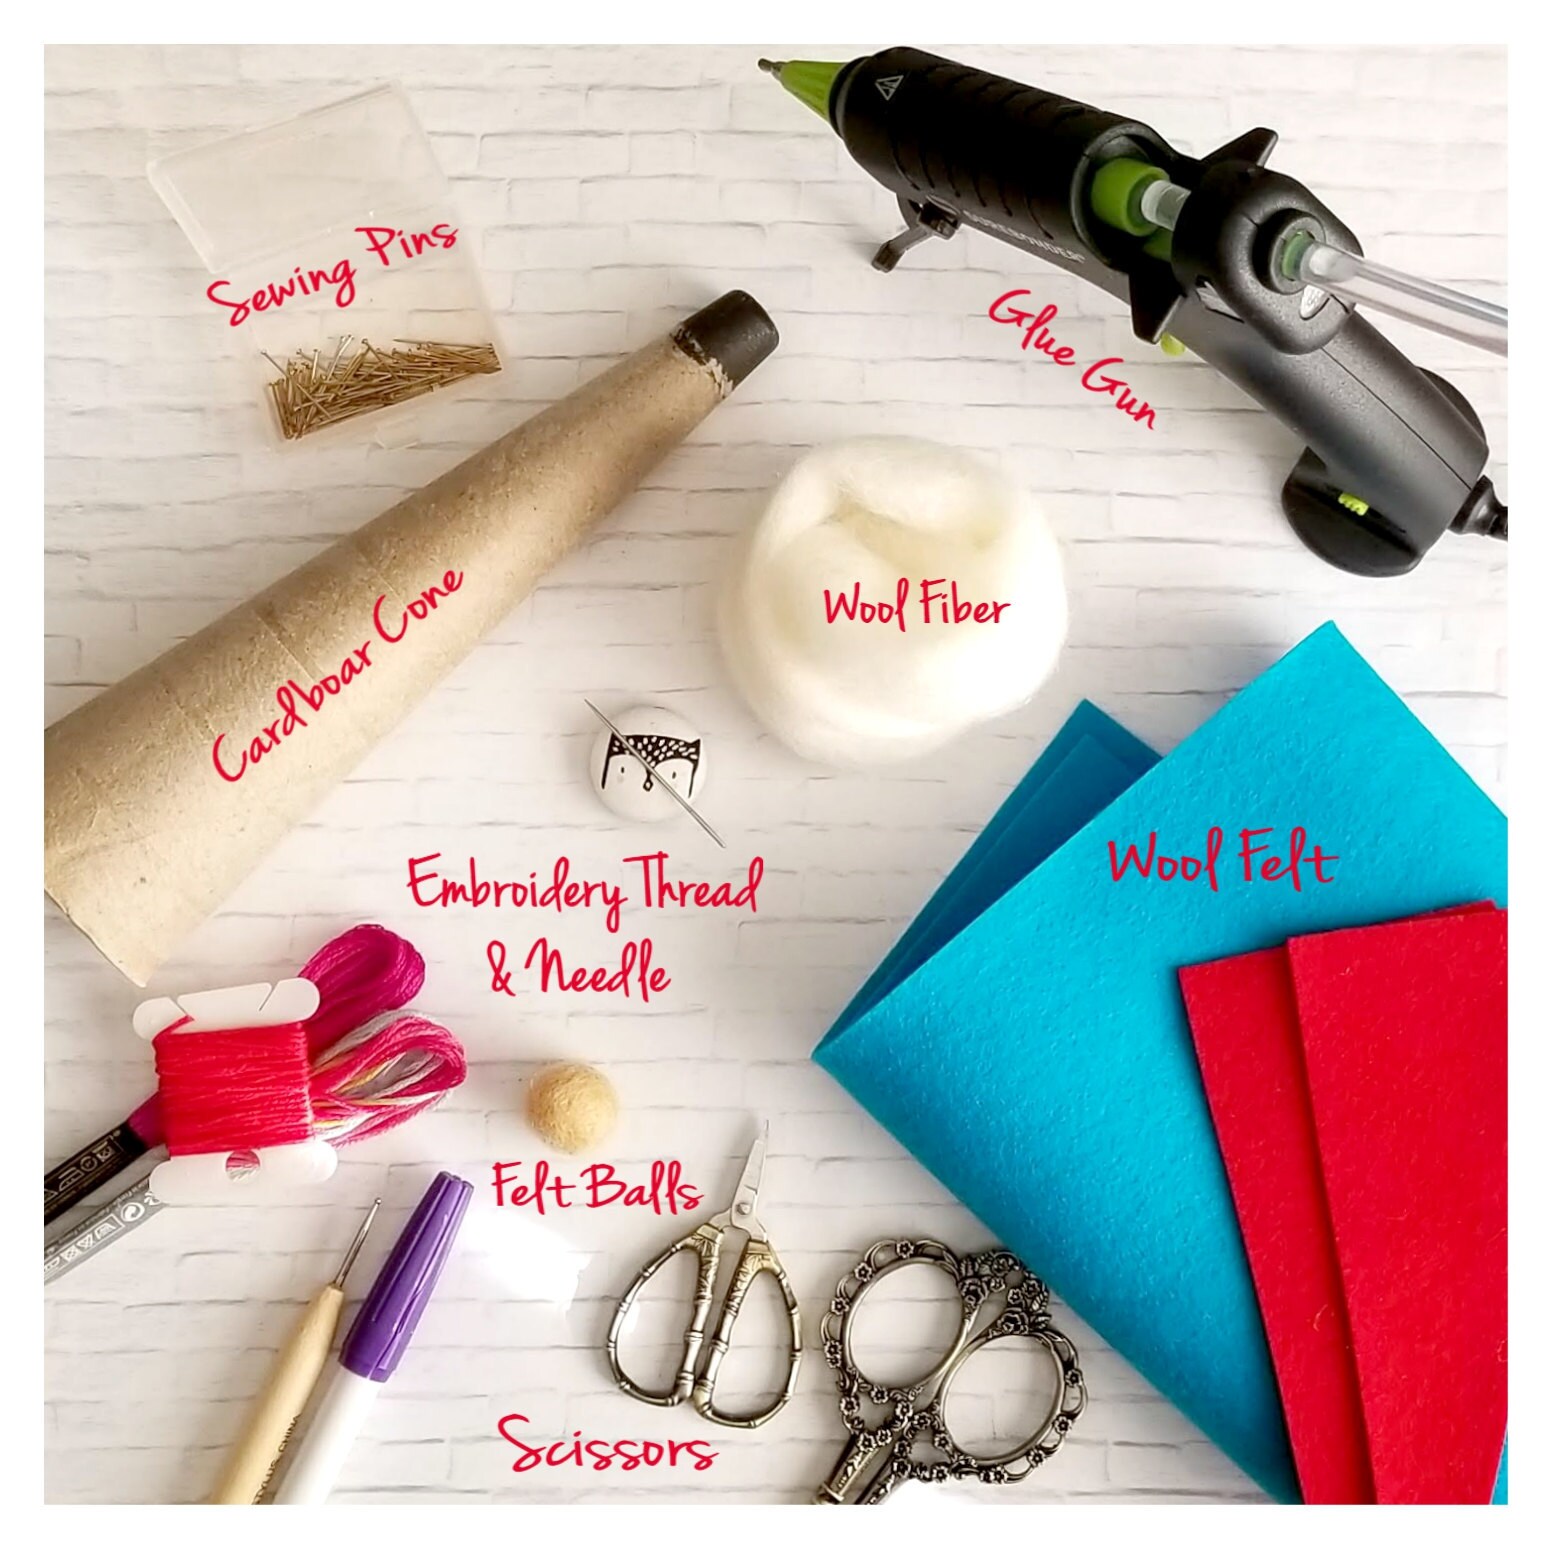
Here what you will need:
- 1x Cardboard Cone or Foam Cone of about 8" x 2.5"
- 1x Sheet of Wool Felt 8" x 12"
- 1x Felt Ball of 1.5cm for the nose
- 1x Felt Ball of 2cm for the hat pom
- Some Natural Color Wool Roving
- Embroidery Thread and Nedlee
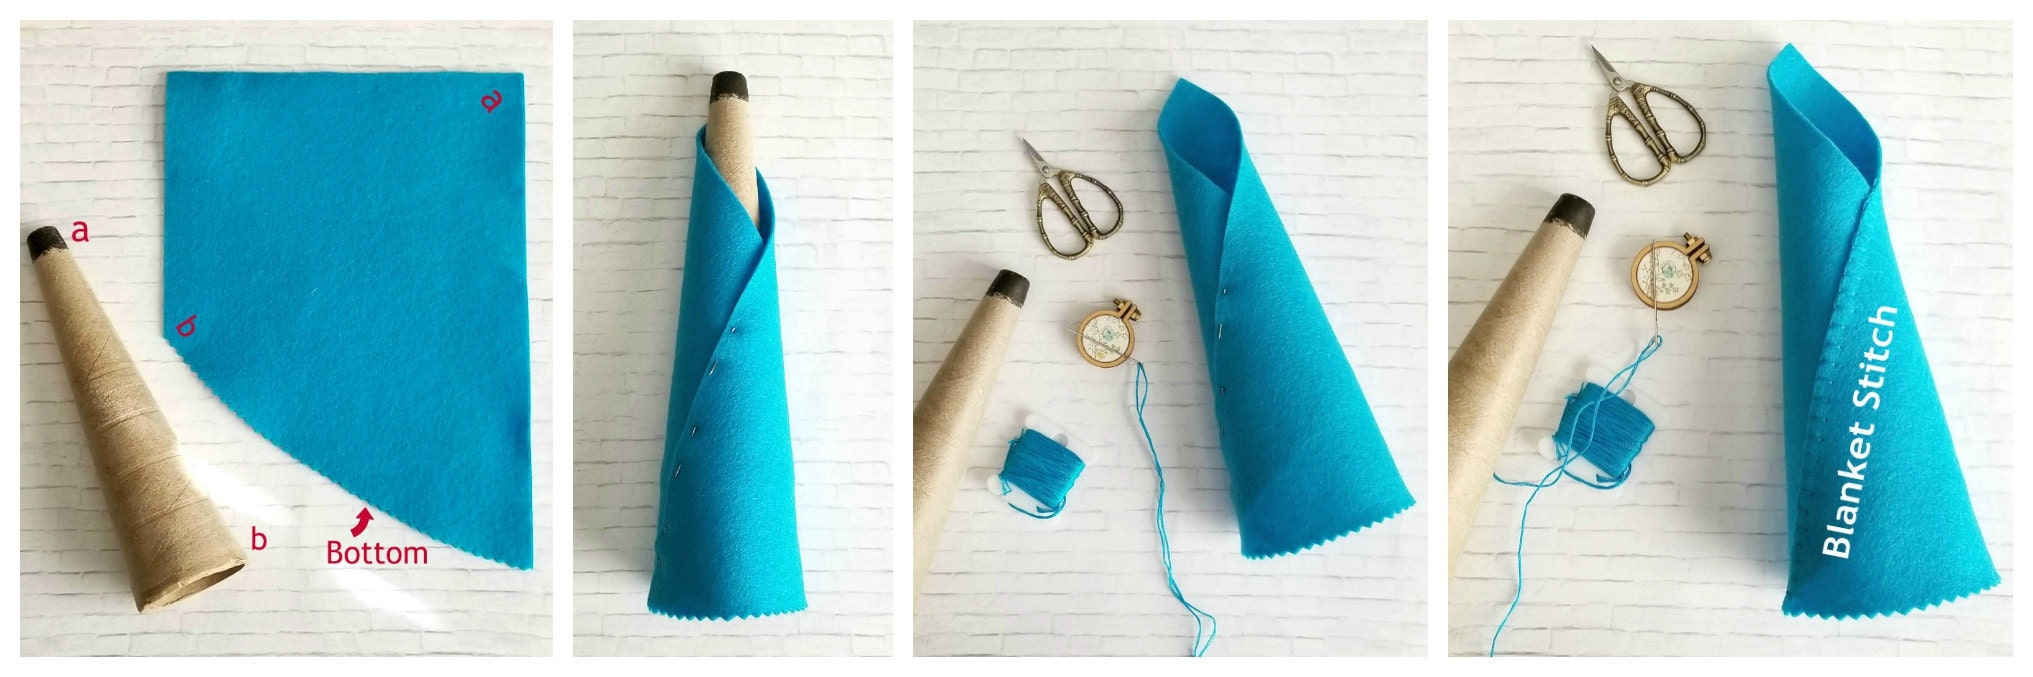
1. Gnome Tunic:
- Cut a felt piece as shown below in the first image, the size and shape of the dress is approx. 8" x 6.5"x 4" and cut the bottom in an angle, I used Pinking Scissors to add a special touch to the bottom of the tunic.
- Place the Cone onto the felt and wrap it around, use the sewing pins to keep the shape, take the dress off the cone and start stitching. I used the Blanket Stitch and stitched with 3 strands!
- Any embelishments that you may want to add or stitch to decor the tunic need to be done before putting it back on. When the tunic is exactly as you want it you can put it back in cone.
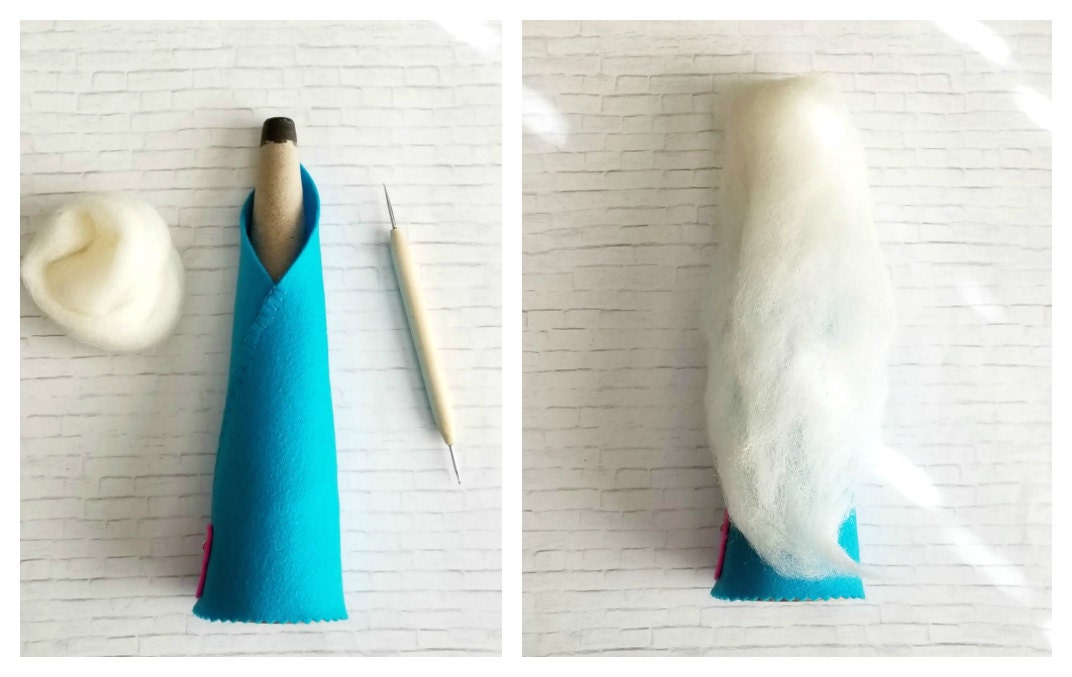
2. Gnome Beard:
As I have an empty cardboard cone, I inserted the wool fibers in the top hole of the cone using my lowe-cornell stylus, but you can use something else to do that or find another way to attach the beard to it. Make sure to shape/comb the wool fibers nicely.
3. Gnome Hat:
- Cut a felt piece as shown below in the first image, the size and shape of the dress is approx. 8" x 5.75" and the sides are 2.75" and top approx 1" or a bit less. Use the body of the Gnome (cone) to shape the hat, this is a bit tricky, so make sure you have a lot of sewing pins to form the hat! Once you have it all pin up, take the hat off the cone and stitch away. Same thing, Blanket Stitch using 3 strand. (this hat was a real challenge for me to desing and make but... by the 3rd. Gnome hat I've made, I was a master ♥)
- Any embelishments that you may want to add or stitch to decor the hat need to be done before putting it back on. When the hat is exactly as you want it you can put it back in the cone.
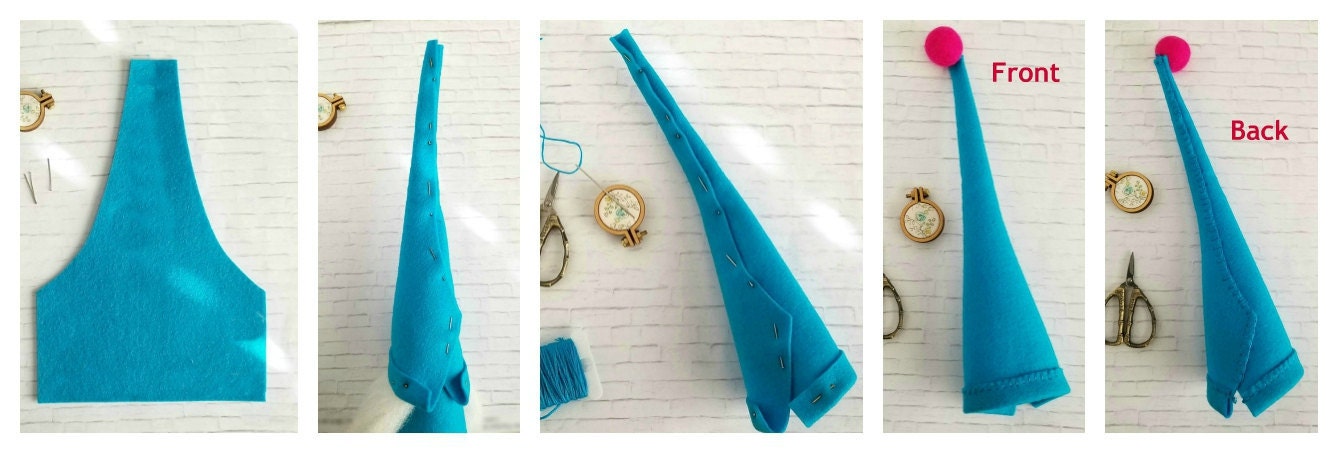
4. Gnome Nose and Pom Pom:
This is the easiest part... using the hot glue gun attached the nose where you want it to be and the pom pom hat! (You could stitch the Pom Hat as well).
Ta daaa ... my Valentino Gnome was born 1/20/2019 and I'm in love ♥.
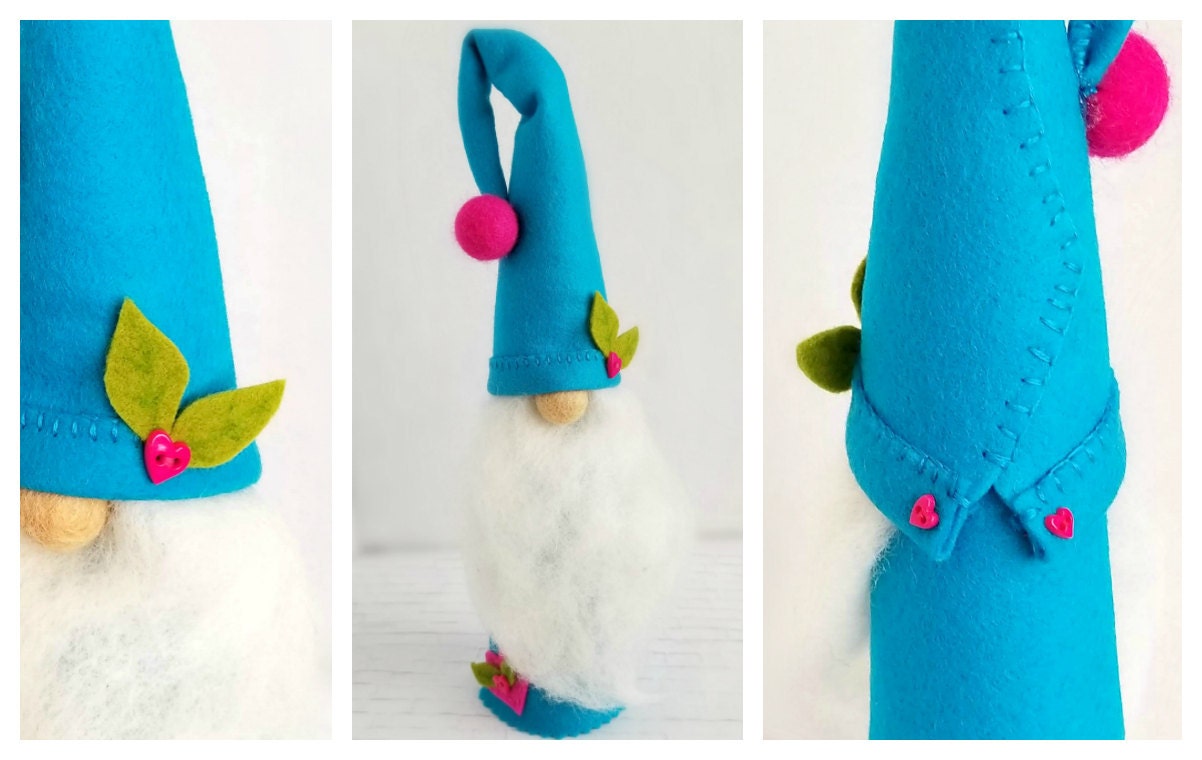
Give it a try and be creative ... please know that all measurementes given in this post, were based on my Cardboard Cone size and shape, but this could be adjust for larger or smaller cones. I will suggest you to cut the pieces a bit wider and longer than indicated and adjust accordingly. I used exactly 1 wool felt sheet of 8" x 12" to make both the Gnome Tunic and Hat!
All ideas and designs in this post are 100% my own for Crafty Wool Felt!
Happy Crafting! And from them bottom of my Crafty Heart, thank YOU so much for visitng my blog and for shopping Crafty ♥.
xoxoxoxo
Cluadia